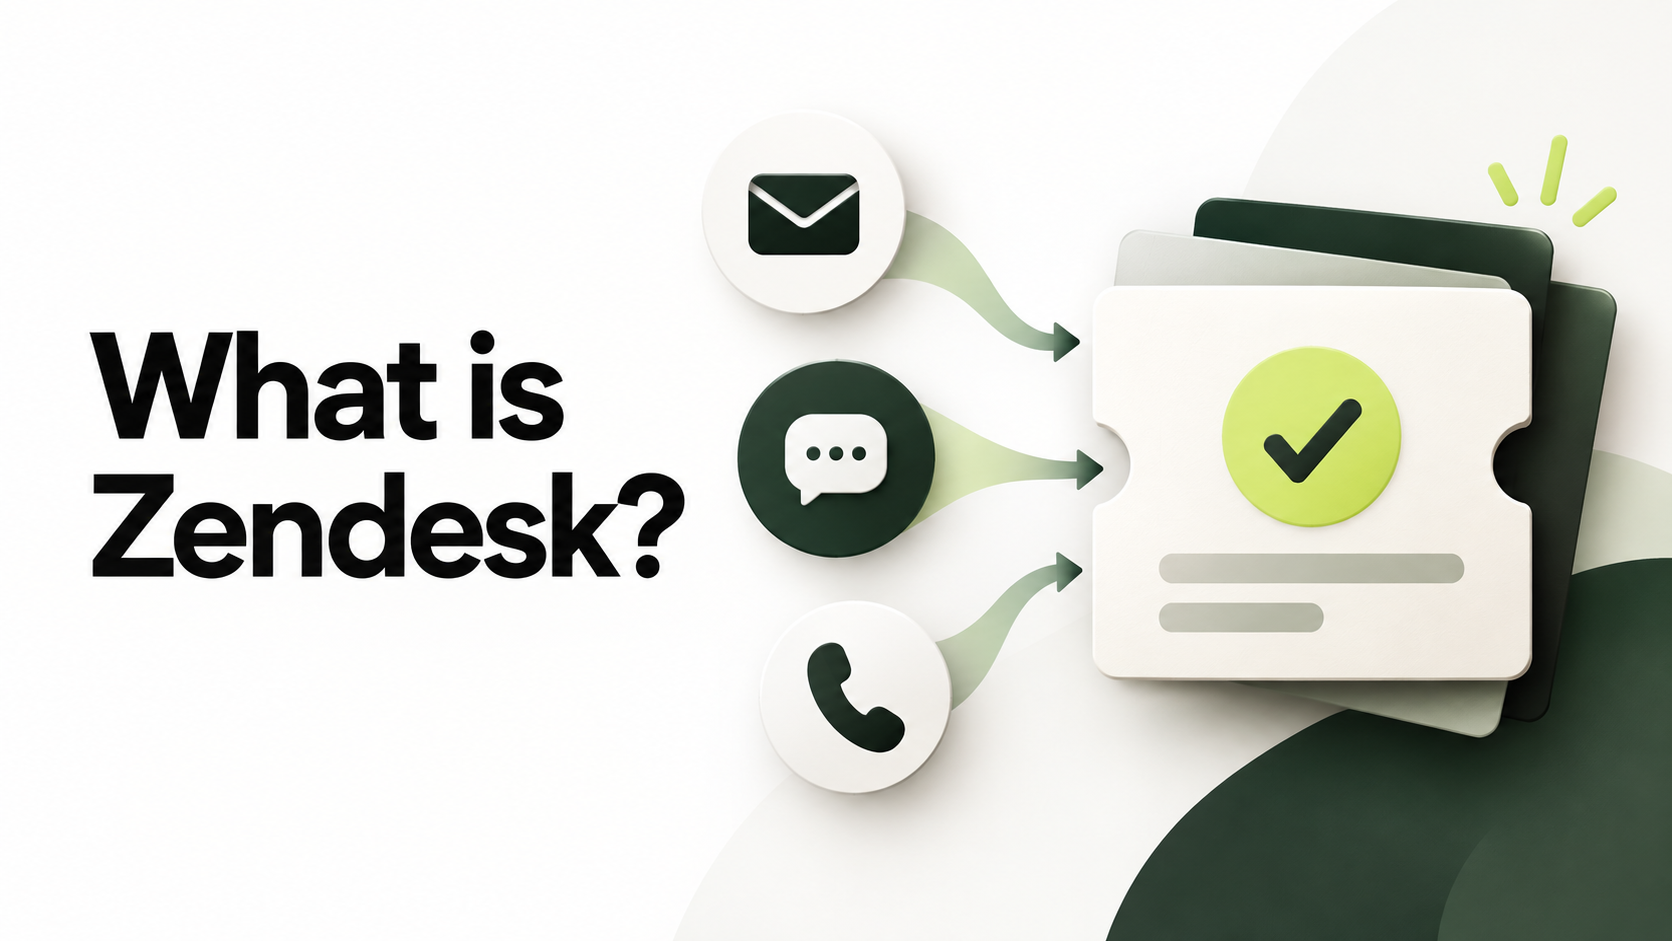


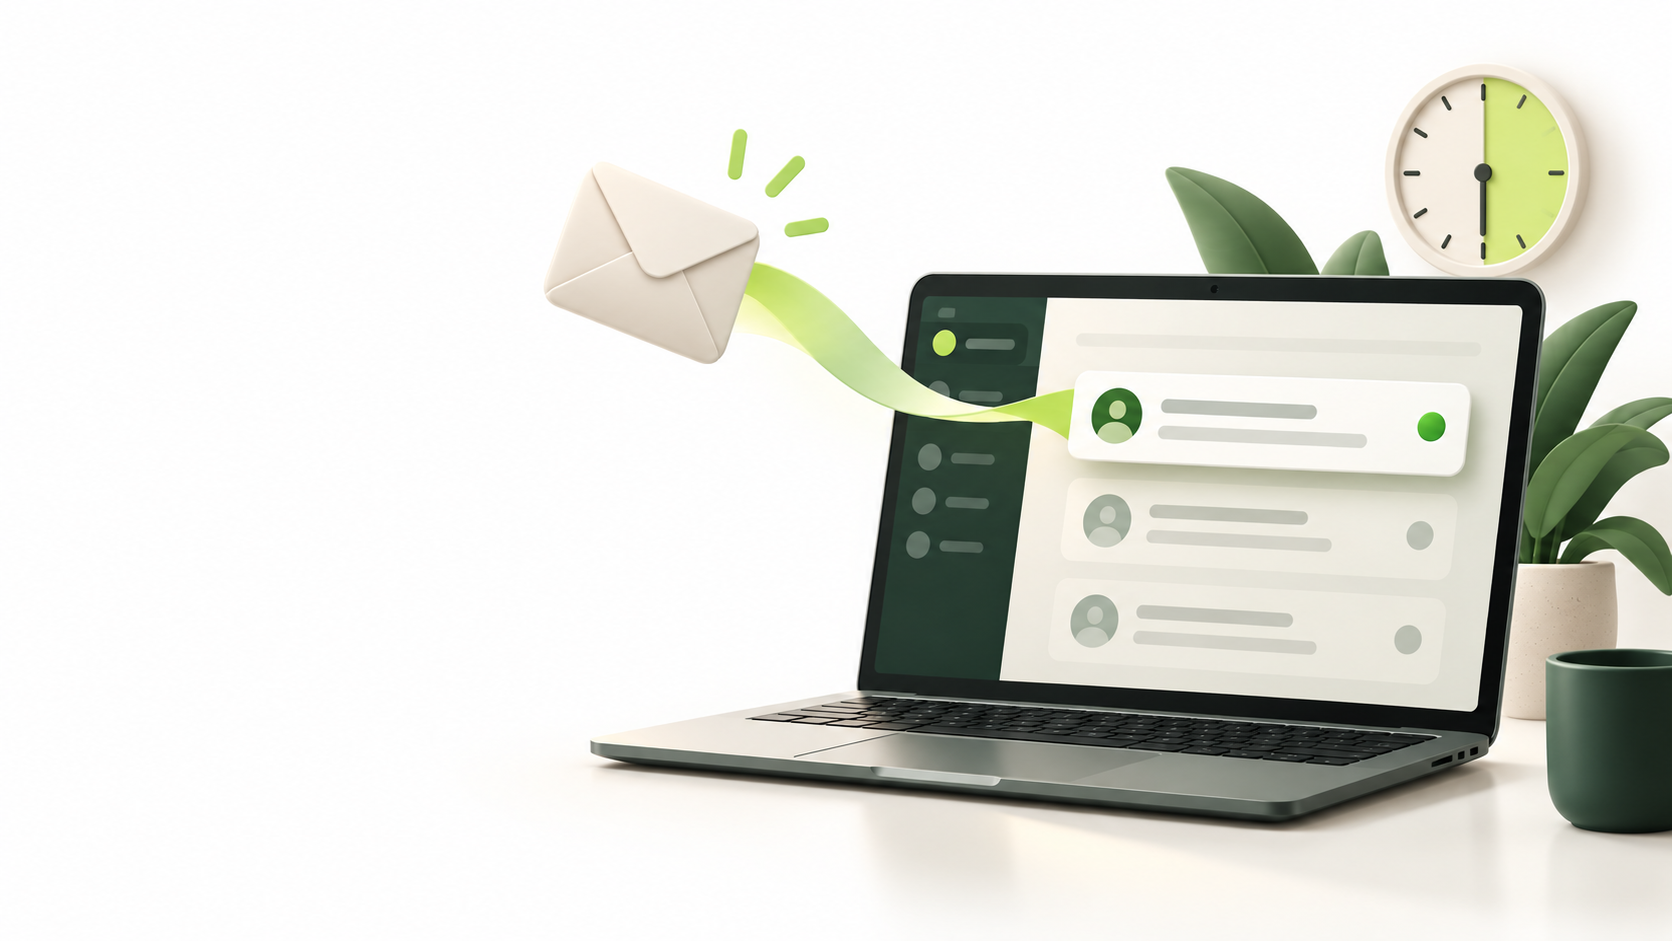
You can use 30 minutes to build and test a basic Zendesk support workflow. The goal is simple: a customer email becomes a ticket, a teammate takes ownership, and the customer receives a reply. Start with the support address Zendesk provides for your account. Connecting your own email address, adding website messaging, and moving old tickets can come after the first test works.
Before You Start
Have an administrator account, a separate email address for sending a test request, one teammate you can invite, and one common customer question for a saved reply. The times below are estimates. Email verification, team invitations, and settings in your organization may take longer.

The 30 Minute Setup
Step 1:- Create Your Zendesk Account
Minutes 0 to 3. Start a Zendesk trial, enter your work email and company details, and choose your account subdomain. Verify your email and open Zendesk. The current customer service trial is offered for 14 days.
Keep your account subdomain handy. It determines the default support address you will use in the next step.
Official link: Start a Zendesk free trial
Step 2:- Send a Ticket to Your Default Support Address
Minutes 3 to 7. Zendesk sets up an address in the form support@yoursubdomain.zendesk.com. From your separate test email, send a simple request such as “Where is my order?” to that address.
Open the new ticket in Zendesk and confirm that the subject, message, and requester are visible. You can connect your company support inbox after this basic flow works.
If you need the address, see Zendesk’s default email setup guide.
Step 3:- Invite One Support Agent
Minutes 7 to 11. In Admin Center, go to People > Team > Team members and add a teammate with the appropriate agent access. Ask them to accept the invitation when it arrives.
If the invitation is still pending, continue the test using your own agent account. You can confirm the teammate’s access later.
Step 4:- Assign the Ticket and Check Your Views
Minutes 11 to 15. Open the test ticket and choose an agent in its Assignee field. Set a priority only if it helps your team decide what to handle first.
Look at the default ticket views so you can find unassigned work and tickets assigned to you. Zendesk provides standard views to get started; you can make custom views after you know what your team needs.
Step 5:- Review the Default Notifications
Minutes 15 to 19. In Admin Center, go to Objects and rules > Business rules > Triggers. Review the standard trigger that notifies a requester when a ticket is received. Check your test inbox to see whether the acknowledgment arrived.
Zendesk includes standard notification triggers, so there is no need to create a second acknowledgment rule. Add a new trigger later only when you have a specific routing or notification need, then test it with a new ticket.
Step 6:- Create One Saved Reply
Minutes 19 to 24. In Admin Center, go to Workspaces > Agent tools > Macros and create a macro for one frequent question. Give it a clear name, add a short reply, and save it for the agents who need it.
A macro is applied by an agent, rather than sent automatically. Open the test ticket, apply the macro, and edit its wording for this customer before sending.
Official link: Create macros in Zendesk.
Step 7:- Test the Whole Conversation
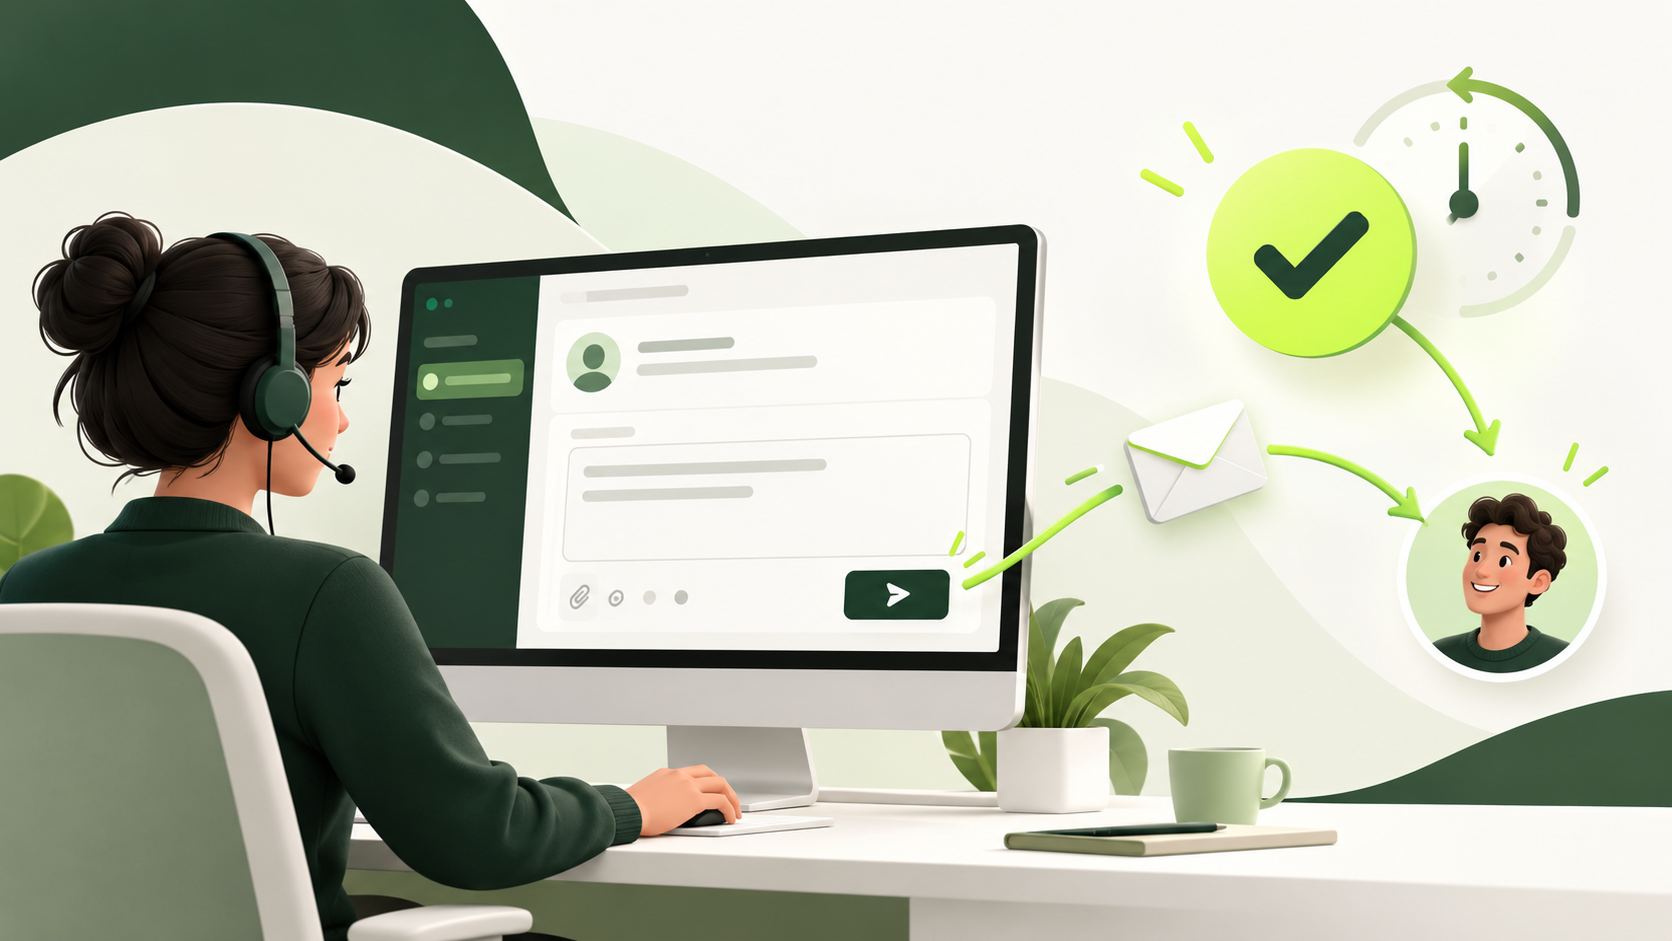
Minutes 24 to 30. From the test ticket, send a public reply and submit it as solved after the question is handled. Check the separate email inbox for the reply. Then check the ticket history in Zendesk to confirm the conversation and final status are recorded.
If the email reply does not arrive, review the support address and standard notification triggers before changing more settings. A successful end to end test is your signal that the starter workflow is ready.
Your Setup Checklist
- Ticket received. A message to the Zendesk support address appears as a ticket.
- Owner assigned. An agent can find and take responsibility for the ticket.
- Reply delivered. The test customer receives a public response.
- Saved reply ready. At least one macro can be applied and edited by an agent.
- Ticket solved. The completed conversation is visible in its history.
What to Add After the First 30 Minutes
Connect your usual support email in Admin Center under Channels > Talk and email > Email. An external address needs the appropriate connection or forwarding setup with your email provider, so allow extra time and test both incoming and outgoing mail.
If your team works set hours, add a schedule under Objects and rules > Business rules > Schedules. For website conversations, configure the messaging Web Widget under Channels > Messaging and social > Messaging, then install it on your website. You can also add Help Center articles, reporting, and more detailed routing after the basic ticket flow is dependable.
Official link: Add an external support email address.