


.png)
In today’s digital-first businesses, data flows in from everywhere website forms, event registrations, support portals, surveys, and onboarding requests. By seamlessly connecting Jotform’s intuitive form builder with Salesforce’s powerful CRM engine, you eliminate manual data entry, cut response times, and turn every submission into a live, actionable record no spreadsheets, no copy-paste, no delays.
.png)
Why This Integration Is a Game-Changer
Jotform: The Front Door to Your CRM
It captures data right at the source — clean, structured, and ready for automation.
- 10,000+ ready-to-use form templates
- Drag-and-drop form builder (no coding required)
- Conditional logic, file uploads, payments, approval workflows
- Multi-language and mobile-responsive forms
Salesforce: The Nervous System of Your Business
Once data enters Salesforce, it becomes part of a unified ecosystem where teams can act fast.
- Centralized customer data
- Automated workflows (Flow, Process Builder)
- AI-driven insights (Einstein)
- Role-based security and compliance
Together A closed-loop system where data flows in — and action flows out.
Key Capabilities
Native, Real-Time Sync
- Automatically create or update Leads, Contacts, Accounts, Cases, Opportunities, and Custom Objects
- Field-level mapping with validation — no mismatched data
Smart, Conditional Routing
- Route form submissions to different Salesforce objects based on answers
(e.g., “I need tech support” → Case; “I want to partner” → Opportunity)
File Uploads → Salesforce Files
- PDFs, IDs, contracts, and signatures uploaded via Jotform → saved as Salesforce Files or Attachments
Enterprise-Grade Security
- GDPR, HIPAA (on Business+ plans), SOC 2 compliant
- Data encrypted in transit and at rest
- OAuth 2.0 authentication — no passwords stored
Requirements for Integrating Jotform with Salesforce
Before connecting Jotform and Salesforce, make sure the following requirements are in place.
Salesforce Requirements
- You must be on Salesforce Professional (with API access enabled), Enterprise, Unlimited, or Developer Edition.
- API access should be enabled. In most editions it is turned on by default, but verify before configuring.
- The integration user must have permission to create and edit the objects and fields Jotform will map to.
- It is recommended to use a dedicated Salesforce Integration User instead of the Salesforce Admin account for security and audit purposes.
Jotform Requirements
- The free Jotform plan supports basic syncing.
- For advanced functionality like conditional logic mapping and file upload field mapping, a paid Jotform plan is required.
Pro Tip
Review your Salesforce API usage limits, especially if you expect many form submissions. Frequent submissions can quickly consume API calls during peak form usage hours.
Step-by-Step: Connect Jotform to Salesforce
Step 1: Log in to Jotform
- Visit the login page: https://www.jotform.com/login
- Sign in with your account or create one
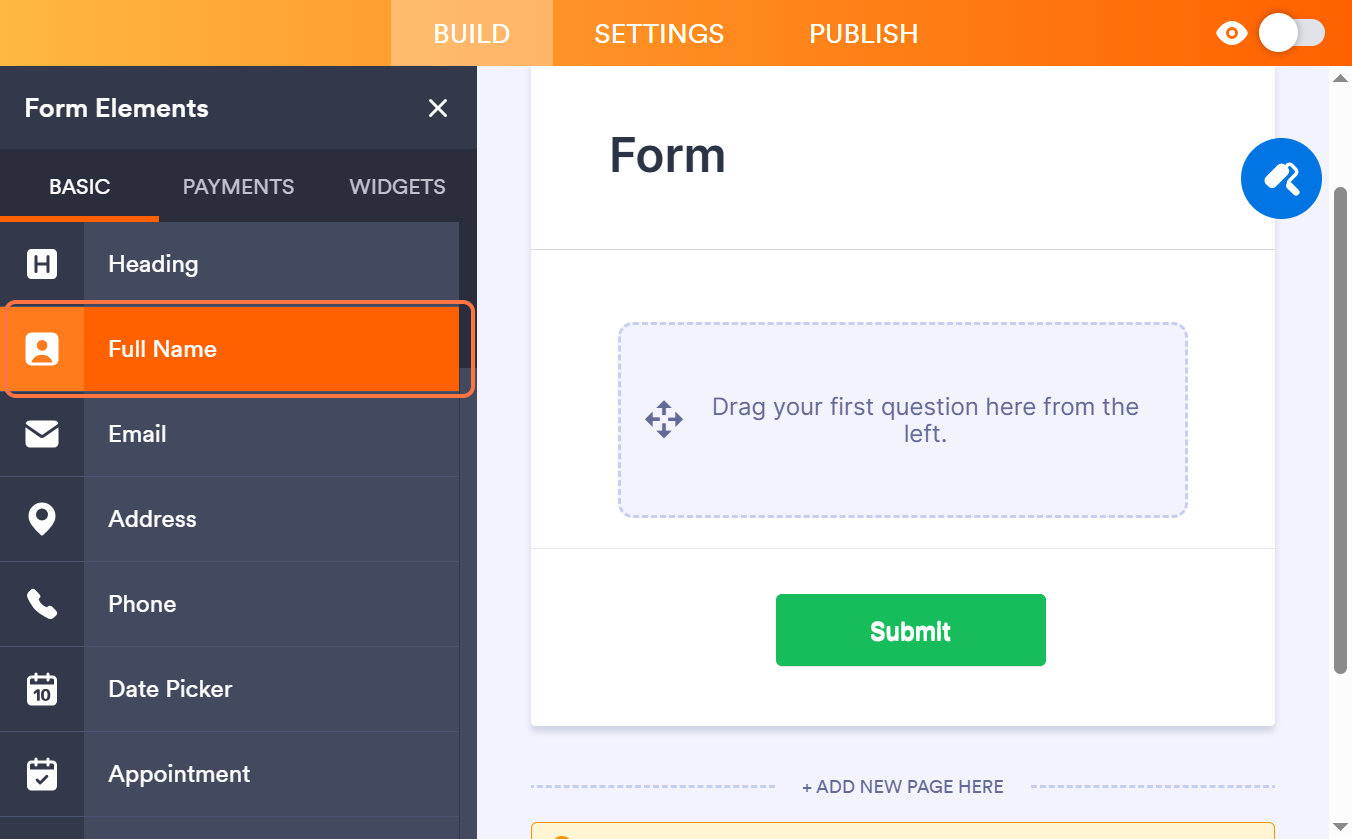
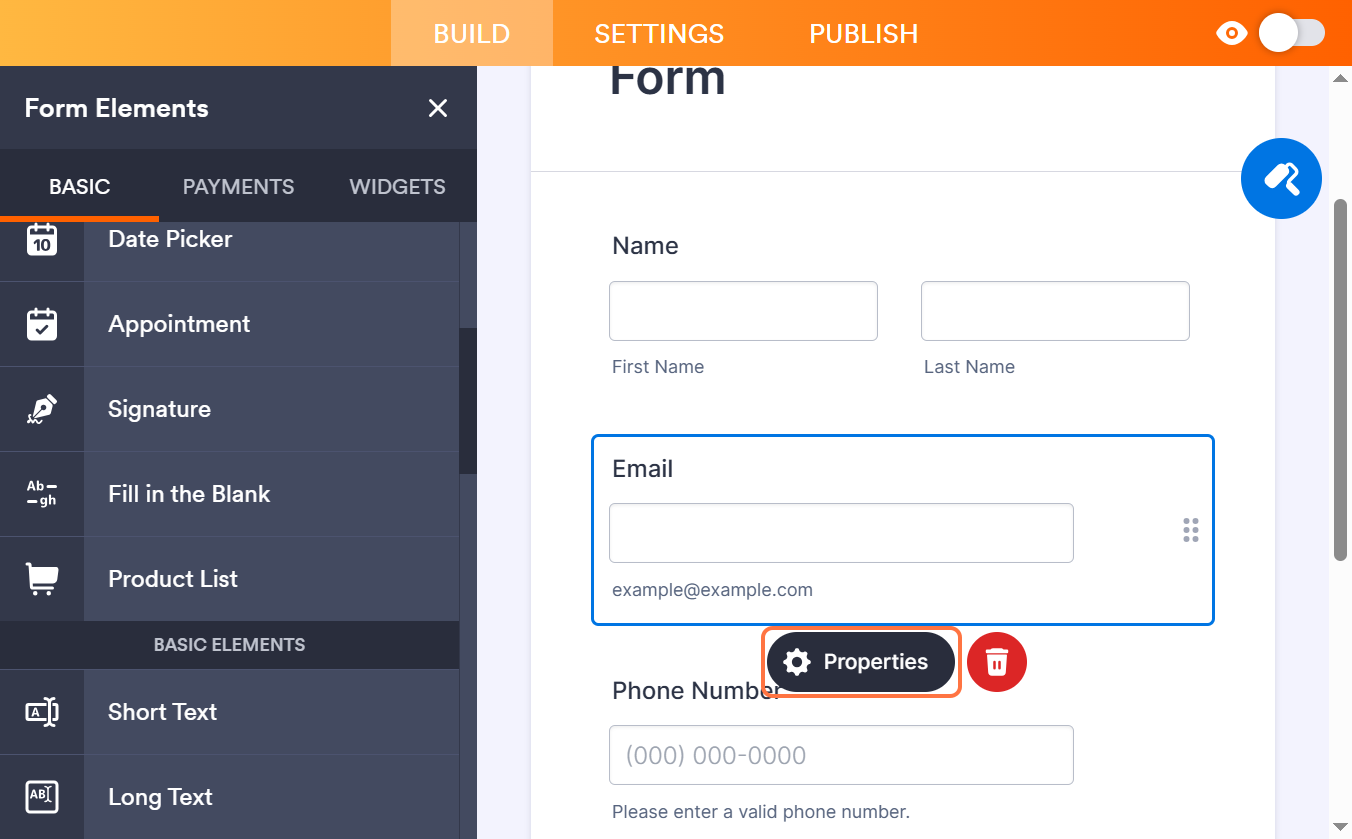
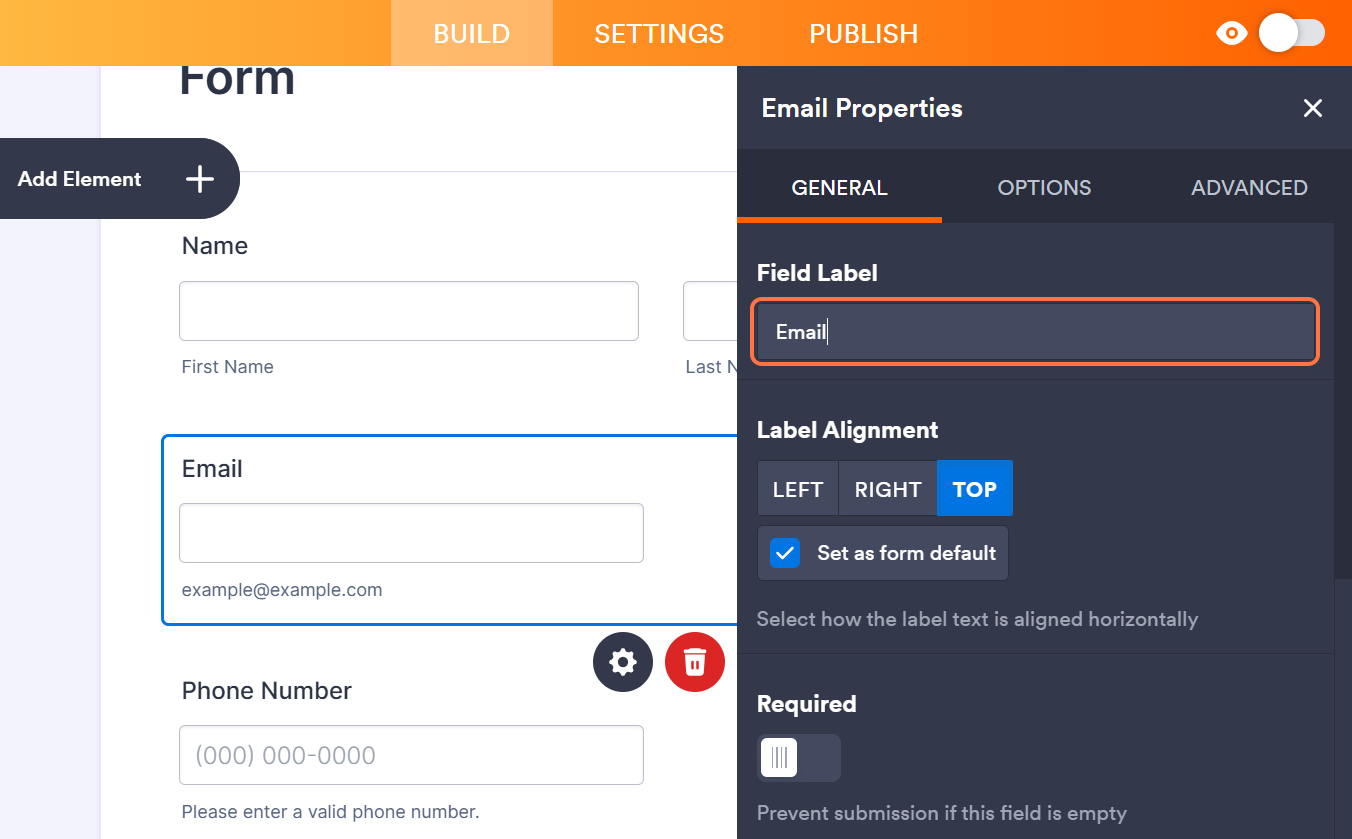
Step 2: Build Your Form
- Use a template (Lead Capture, Event Registration, Support Request) or start from scratch
- Add Required fields: Name, Email, Phone, Dropdowns, File Uploads Etc.
- Apply field validation for better data quality (e.g., restrict invalid emails).
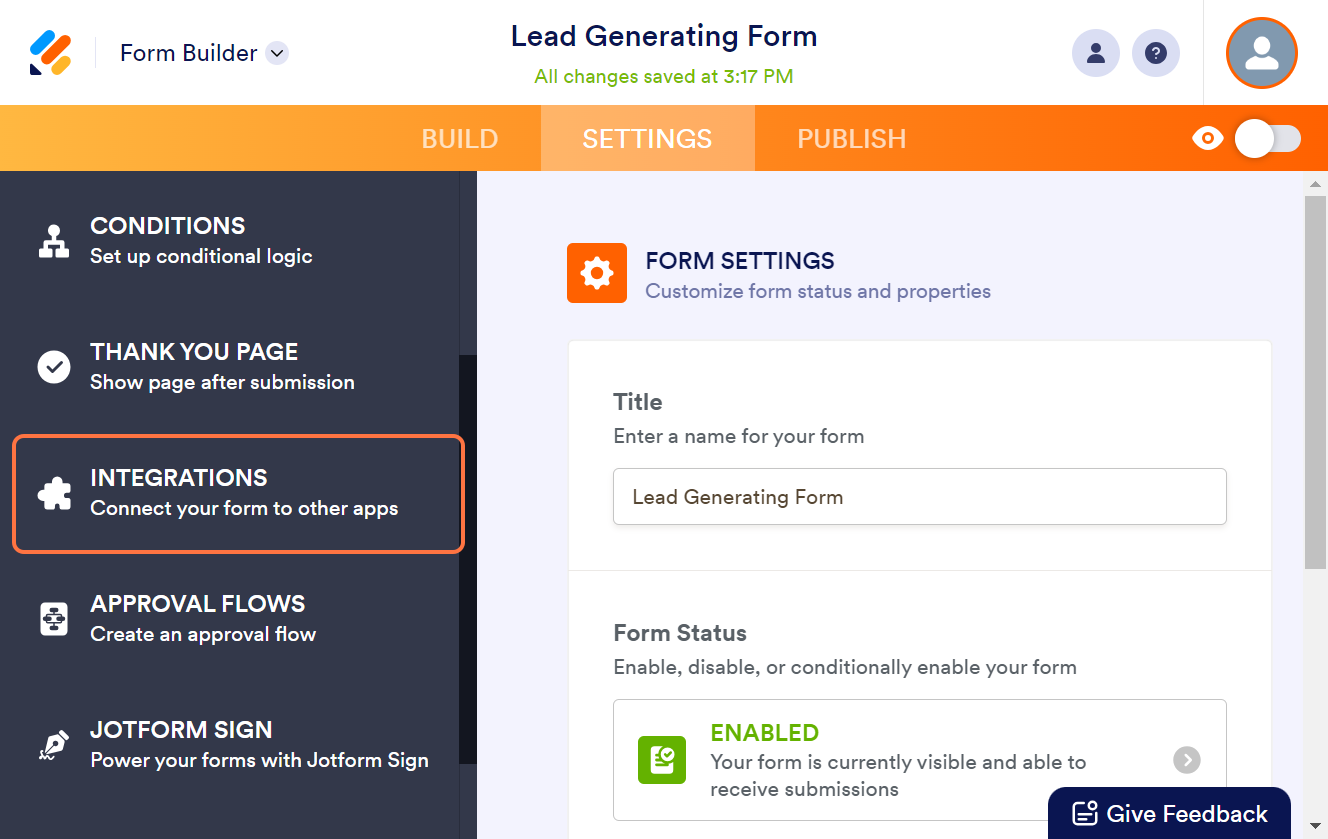
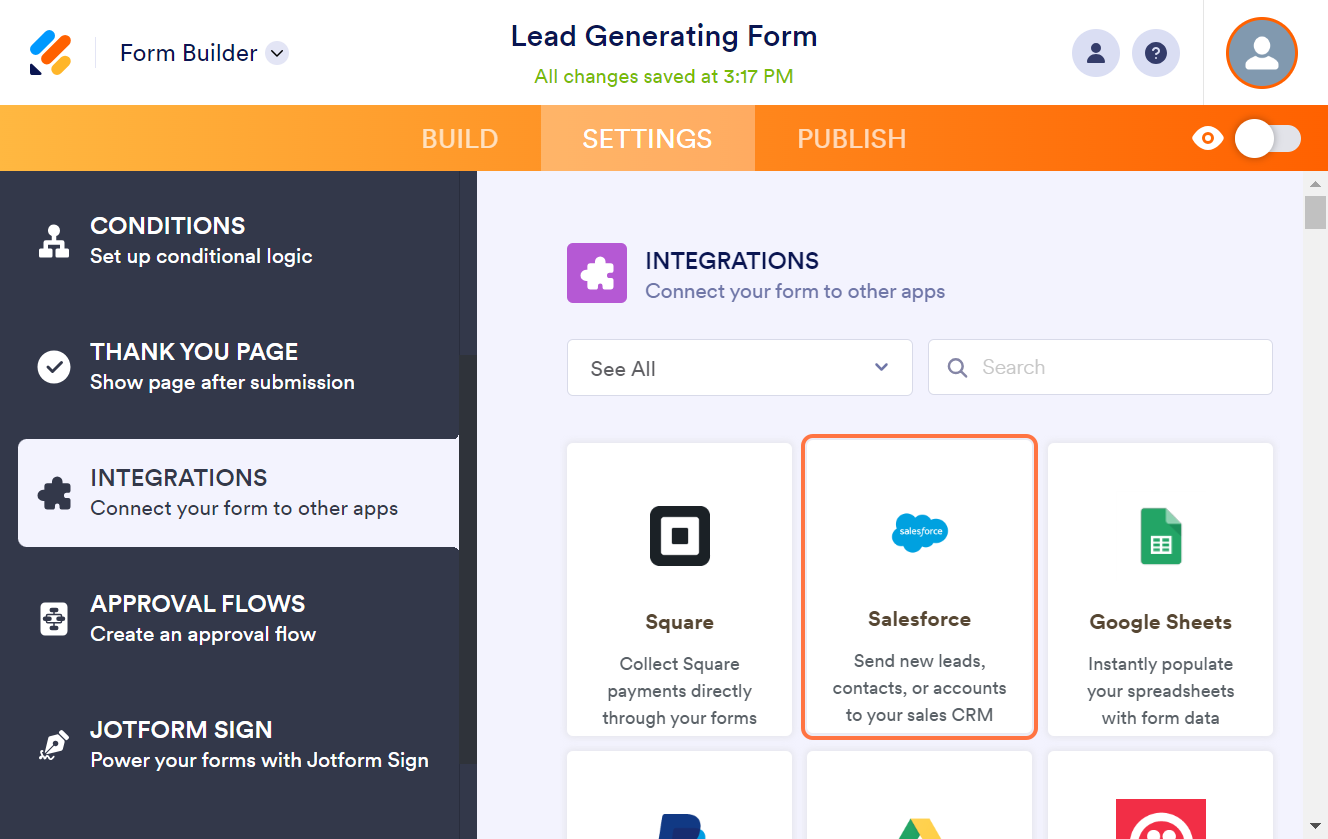
Step 3: Connect Form to Salesforce
- Open your form in Jotform → Settings → Integrations
- Search for “Salesforce” → Click Add Integration
- Click Authenticate → Log in to your Salesforce account
Step 4: Map Form Fields to Salesforce Objects
- Select target object: Lead, Contact, Case, etc.
- Drag-and-drop Jotform fields → Salesforce fields
- Choose: Create New Record or Update Existing (match by Email or Phone)
- Enable “Create if not exists, update if exists” for flawless deduplication
Step 5: Test & Activate
- Submit a test entry
- Check Salesforce: Is the record created? Are fields populated? Are files attached?
Example:-Generating Salesforce Leads with Jotform Form Builder
Step-1
- Visit the login page: https://www.jotform.com/login
- Sign in with your account or create one
Step-2
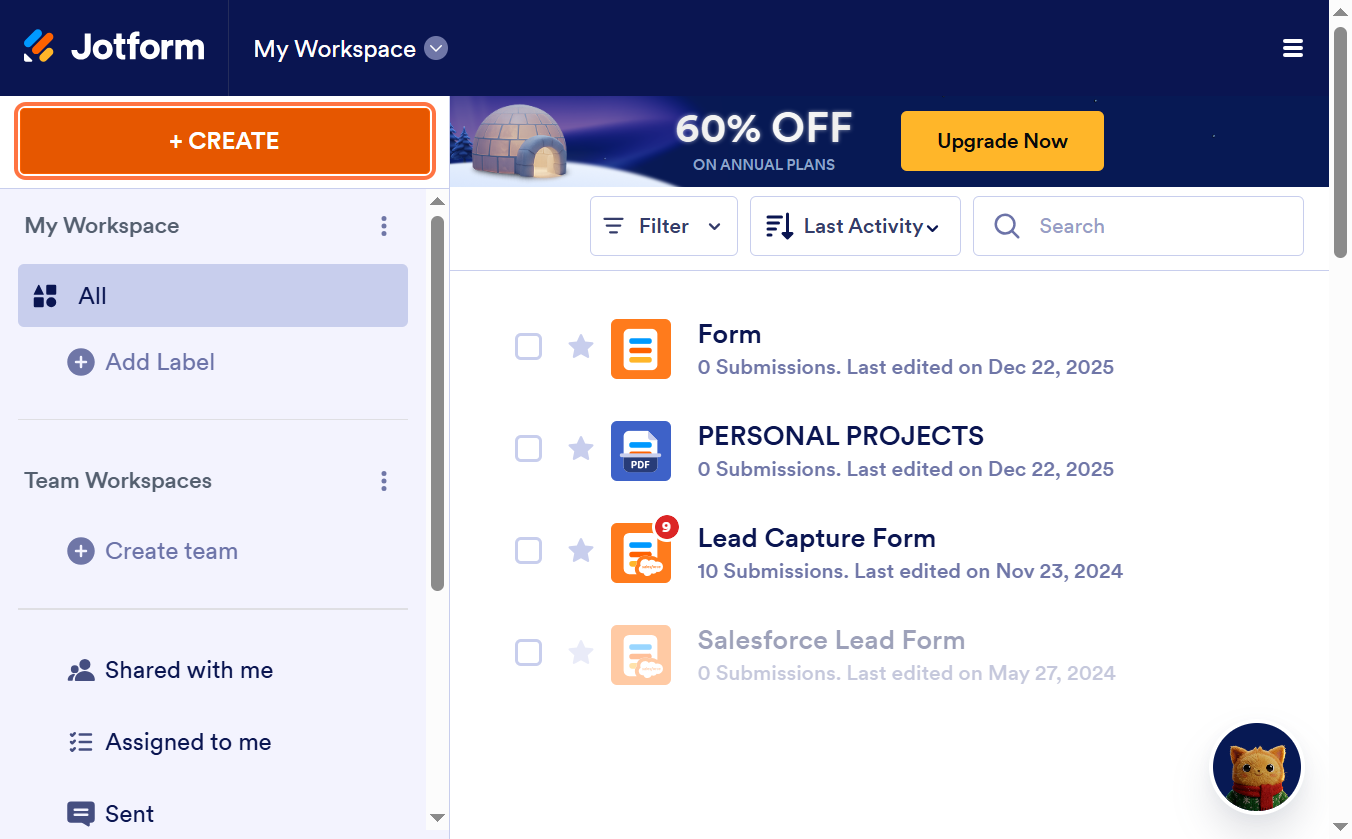
Once logged in, click + Create from the dashboard to Create a New Jotform
Step-3
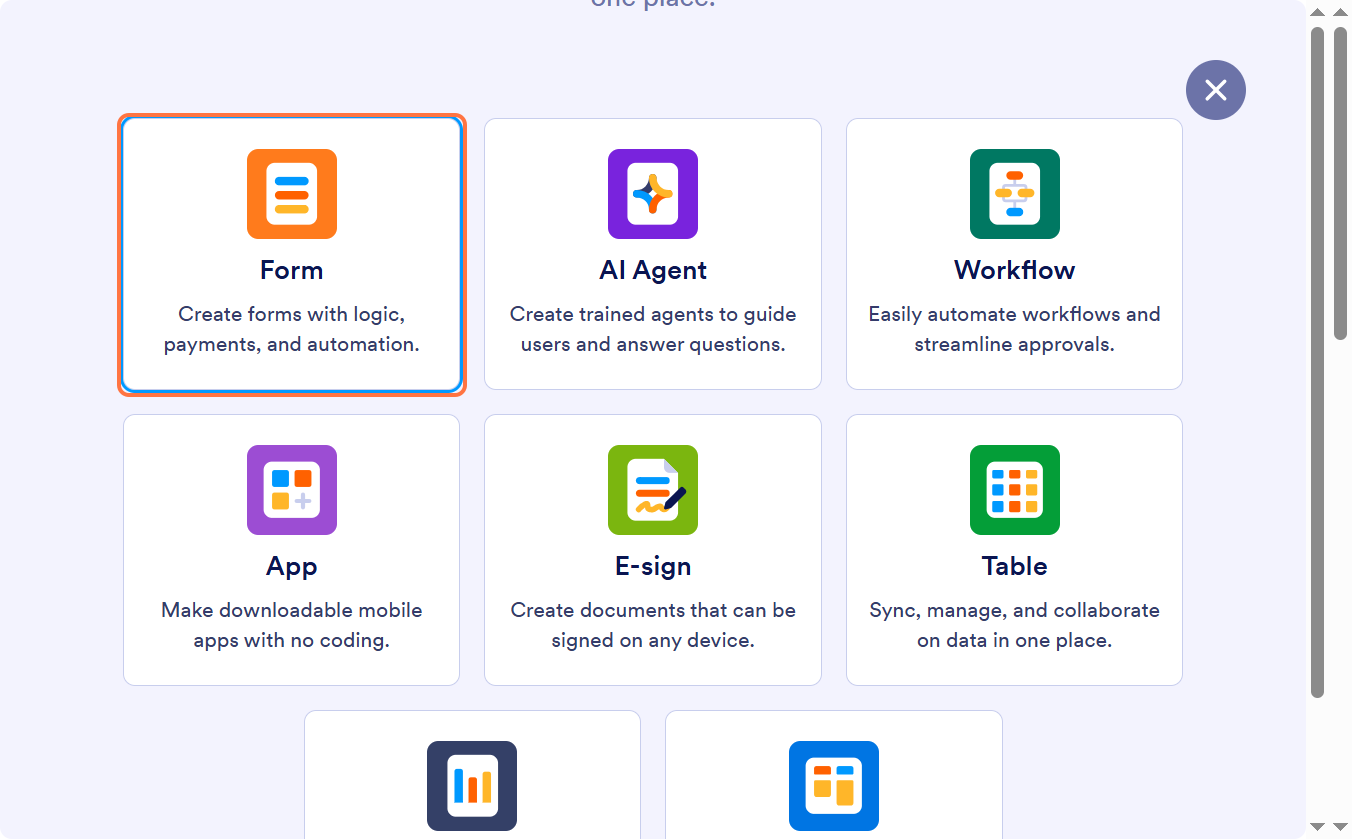
Select Form to create a standard submission form.
(Jotform also supports cards, approvals, surveys, and apps, but a form works best for lead capture.)
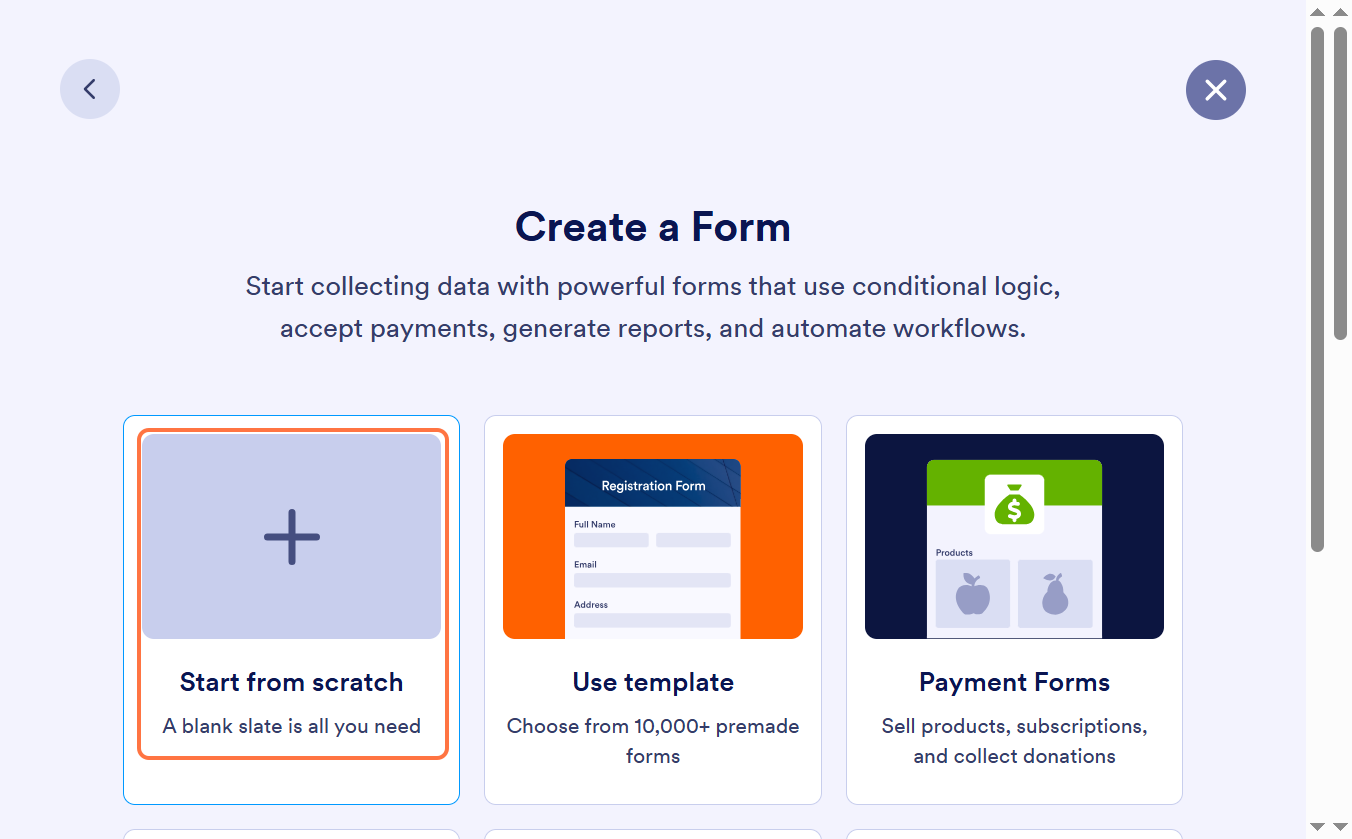
Step-4
- Choose from 10,000+ professionally designed templates to accelerate setup. Ideal for standard lead or inquiry forms.
- If your lead capture also involves collecting deposits, booking fees, or upfront payments, Jotform provides ready-made payment form templates that integrate with multiple payment gateways (Stripe, PayPal, etc.).
Each option is fully customizable — choose the workflow that best fits your business needs and the customer experience you want to provide.
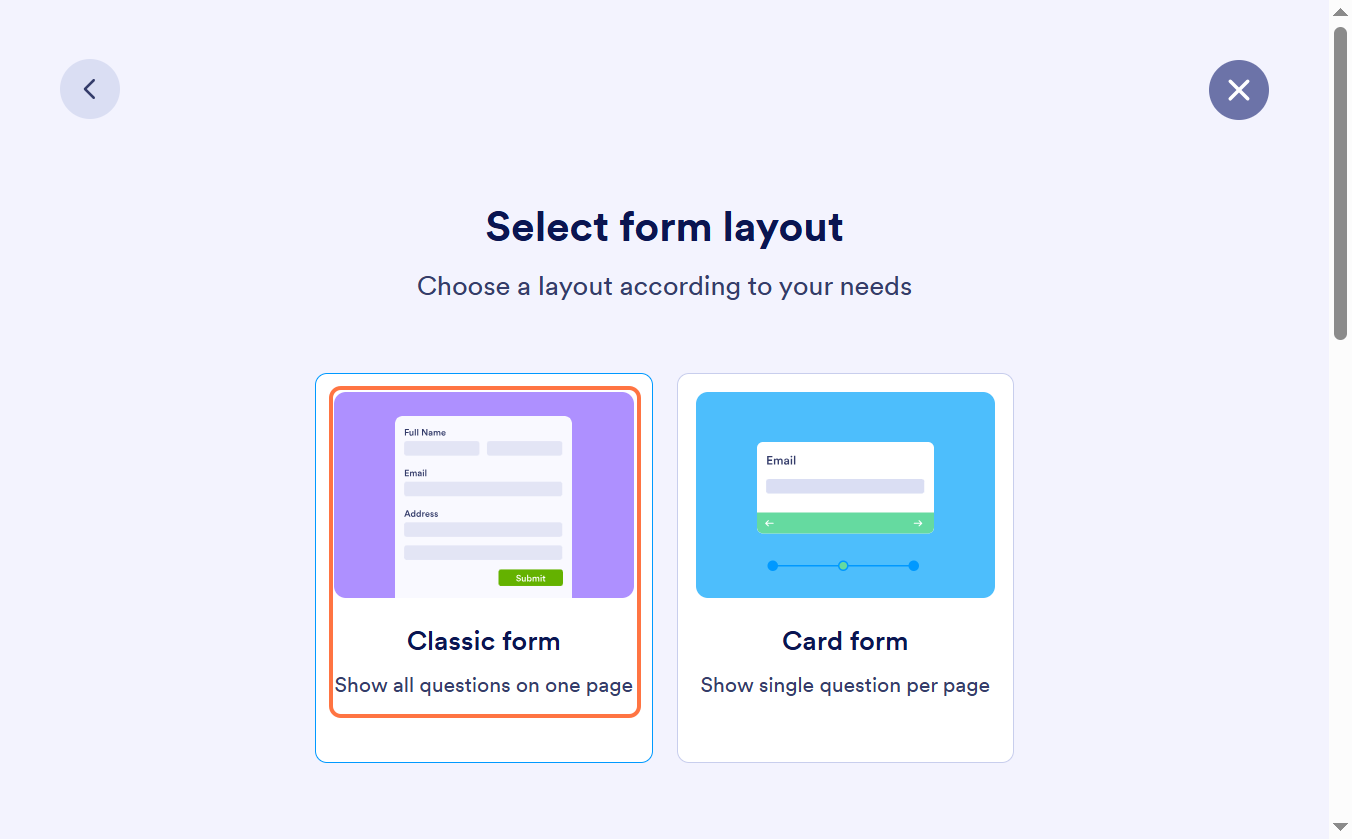
Step-5
Choose your preferred layout and start dragging fields onto the form.
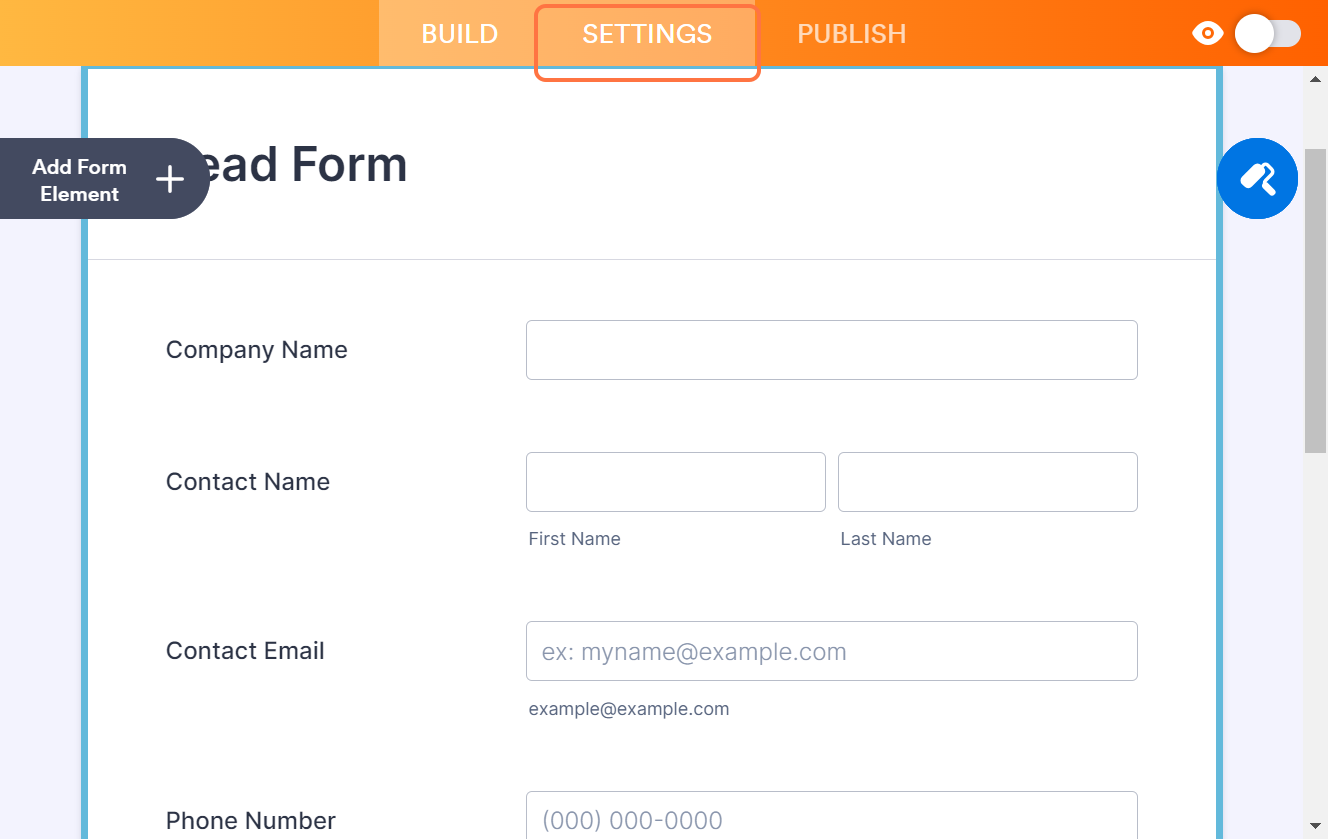
Include typical lead fields such as:
- First Name / Last Name
- Phone
- Company
- Product Interest
- Lead Source
Step-6
Click Settings at the top of the builder.
This is where integration and automation options are located, including Salesforce mapping.
Step-7
Select Integrations from the left menu.
Jotform displays a list of available apps it can connect with via API.
Step-8
Scroll or search for Salesforce and click it.
You’ll be prompted to authenticate your Salesforce account by logging in using secure Salesforce credentials.
Step-9
Click Create a record.
This sets up the integration to automatically generate a new record every time someone submits the form.
Field Mapping Interface:
- Once authenticated, JotForm will display an interface for mapping form fields to Salesforce fields.
Click Select an object, and search for Lead.
This tells Jotform to create new Lead records in Salesforce whenever the form is submitted.
Step-10
A mapping interface appears.
- Email → Email
- Phone → Phone
- Full Name → First + Last Name (split)
- Custom fields → Custom Salesforce Lead fields
Step-11
Click Save Action after completing field mapping.
This stores the mapping rules for your Salesforce lead creation.
Step-12
Click Save Integration, followed by Finish.
Your form is now linked to Salesforce and will create live lead records automatically.
Your Lead Capture Form Is Now Live
Every submission from your Jotform form will instantly generate a Salesforce Lead, saving time, preventing errors, and enabling rapid follow-up from your sales team.
Supercharge Your Jotform Integration with Salesforce Automation
Once submissions start flowing into Salesforce, don’t stop at data capture—let Salesforce take action automatically. This is where the true power of integration comes alive.
Data in? Now let Salesforce act.
Example: Automated High-Value Lead Routing
Use Case
A visitor submits a form. Salesforce instantly evaluates the lead, scores it, assigns ownership, and kicks off follow-up tasks—no manual work required.
Flow Builder Setup:
- Trigger: Record created → Lead
- Condition: Lead Source = 'Jotform'
- Action: Send welcome email via Email Alert
- Action: Create Task for Sales Rep (due in 15 min)
Top Salesforce–Jotform Use Cases (With Real Business Impact)
Integrating Jotform with Salesforce unlocks automation across multiple departments. Here are the most powerful real-world use cases and the measurable benefits they deliver.
- Website Lead Capture- Capture leads directly from website forms and push them into Salesforce instantly. Businesses experience up to 70% faster lead response times, resulting in higher conversion rates and shorter sales cycles.
- Event Registration- Easily register attendees, sync their details to Salesforce, and automatically create Contacts, Campaign Members, or Events. Sales teams benefit from seamless follow-up and more accurate attendee tracking.
- Customer Support Forms- When customers submit an issue, a Case can be created immediately in Salesforce. This reduces response and resolution time and ensures support teams never miss a request.
- Partner Onboarding- Automate onboarding workflows by collecting partner details, certificates, and agreements through Jotform. Salesforce records—like Partner Accounts—can be created automatically, and uploaded files can be attached to the record for compliance.
- Feedback & Surveys- Collect feedback such as Net Promoter Scores (NPS). Update Contact and Account records based on responses and create tasks for follow-up. This makes customer feedback measurable and actionable.
Conclusion
Salesforce + Jotform isn’t just an integration — it’s a growth engine.
Every form submission becomes a live CRM record.
Every customer interaction triggers an automated response.
Every team — sales, service, marketing, ops — works from the same real-time data.
Start small: Connect your next lead capture form.
Then scale: Automate onboarding, approvals, feedback loops, and compliance workflows.
The future of CRM isn’t about collecting data. It’s about activating it — instantly.


.png)
